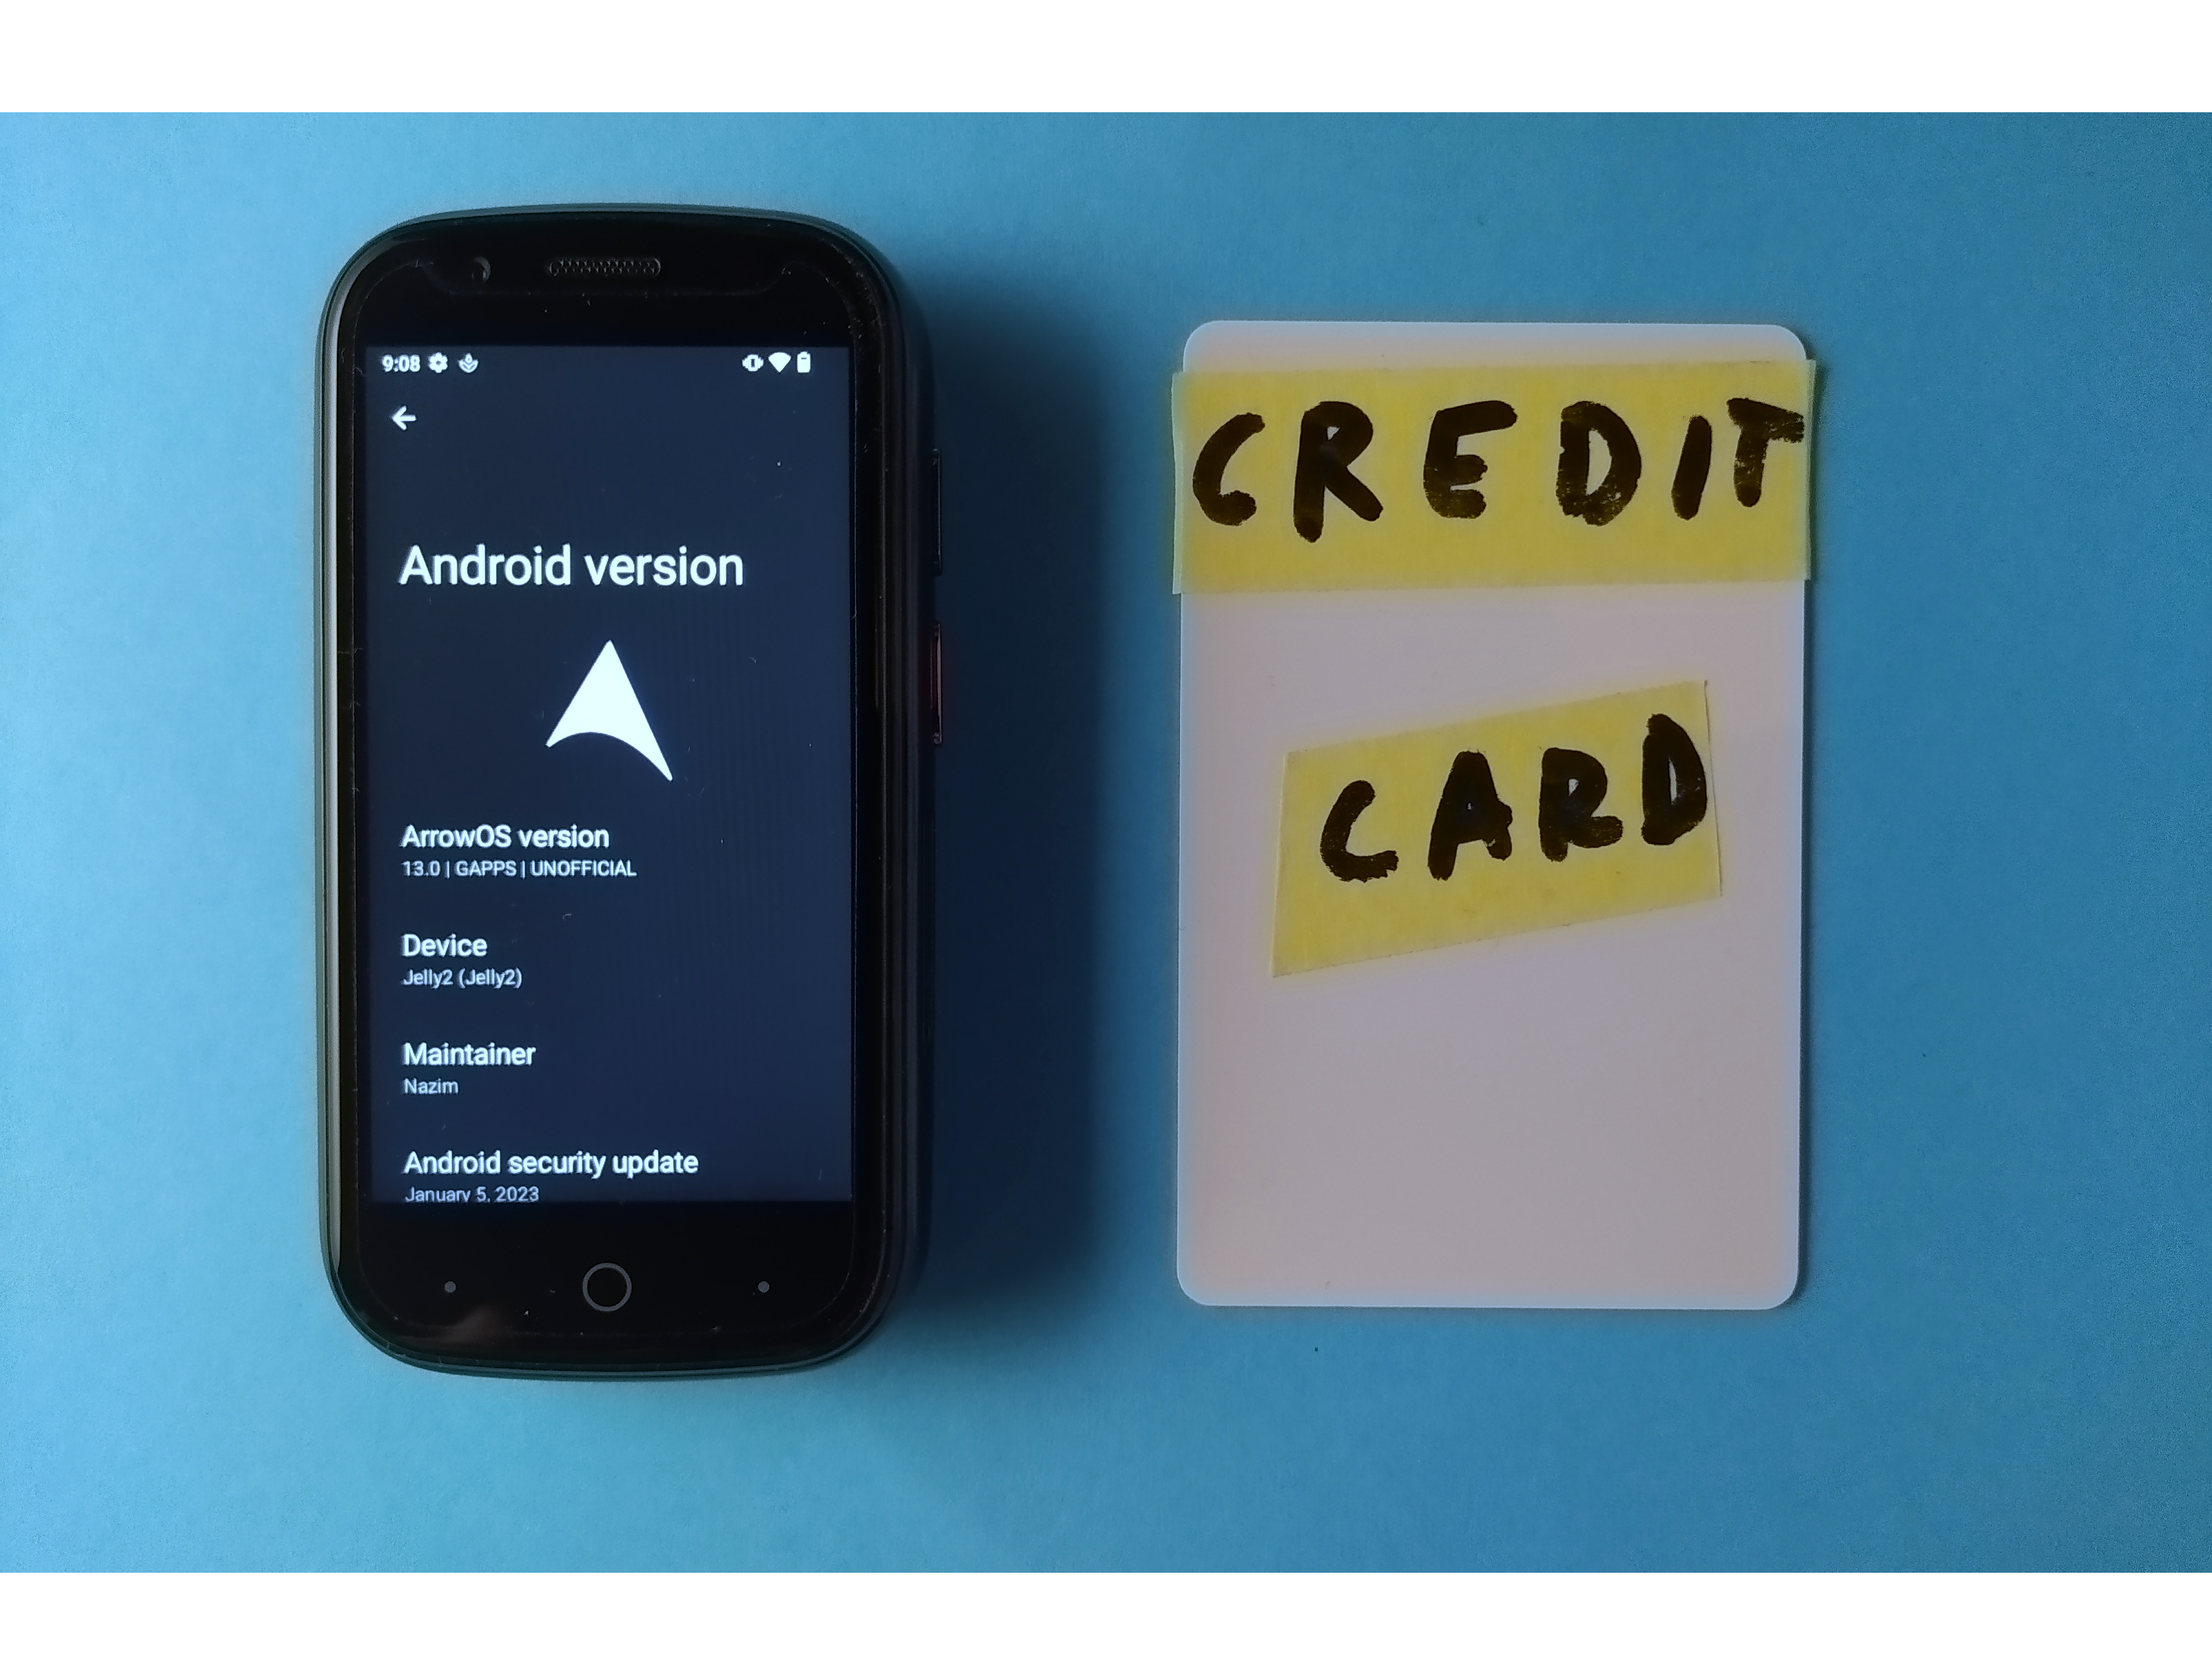
Unihertz Jelly 2: Firmware Flashing, Rooting, GSIs, SafetyNet, and TWRP
Firmware Flashing!
Don’t begin without having a reliable way to reflash the firmware, bricking the Jelly 2 can accidentally happen in a lot of ways (more on that later). It’s better to setup the flashing environment now than when your device is bootlooping itself out of existence.
Download the firmware
You’ll need to sign in to your Google account and request access to this Google Drive: https://drive.google.com/drive/folders/0By1nhWOmuw2KdDhTUlFOZHpXQjg?resourcekey=0-KHJPIYVPw2iHL—cceWyaw&usp=sharing
After Unihertz grants your request, you’ll be able to download the desired firmware.
More info: https://www.reddit.com/r/unihertz/comments/r2dz0a/unihertz_official_firmwares_ota_updates_drivers/
Download SP Flash Tool
Download version 5.2xxx or lower from here: https://spflashtools.com/
Versions 6.xxxx use a different flashing format and can’t read the scatter file.
Linux specific configuration
After you download SP Flash Tool for Linux, you should unzip it and chmod +x flash_tool, if that doesn’t work then just chmod +x -R ./* inside the directory.
Also, make sure to add yourself to the uucp group:
sudo usermod -a -G uucp <your user name>
To start SP Flash Tool, run ./flash_tool from inside the directory.
Flashing procedure
Make sure you have all the firmware images unzipped and ready somewhere in a directory, then run the SP Flash Tool.
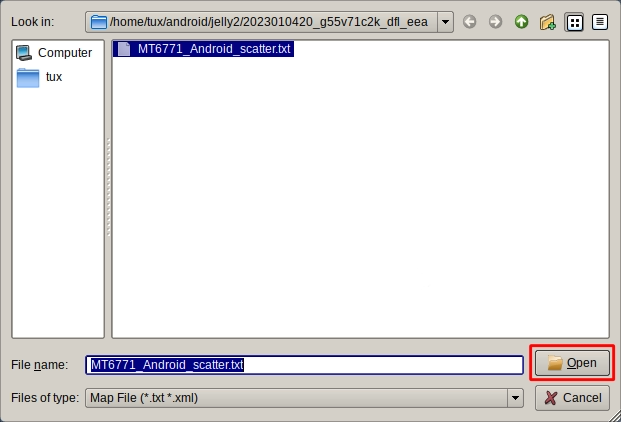
Load the scatter file
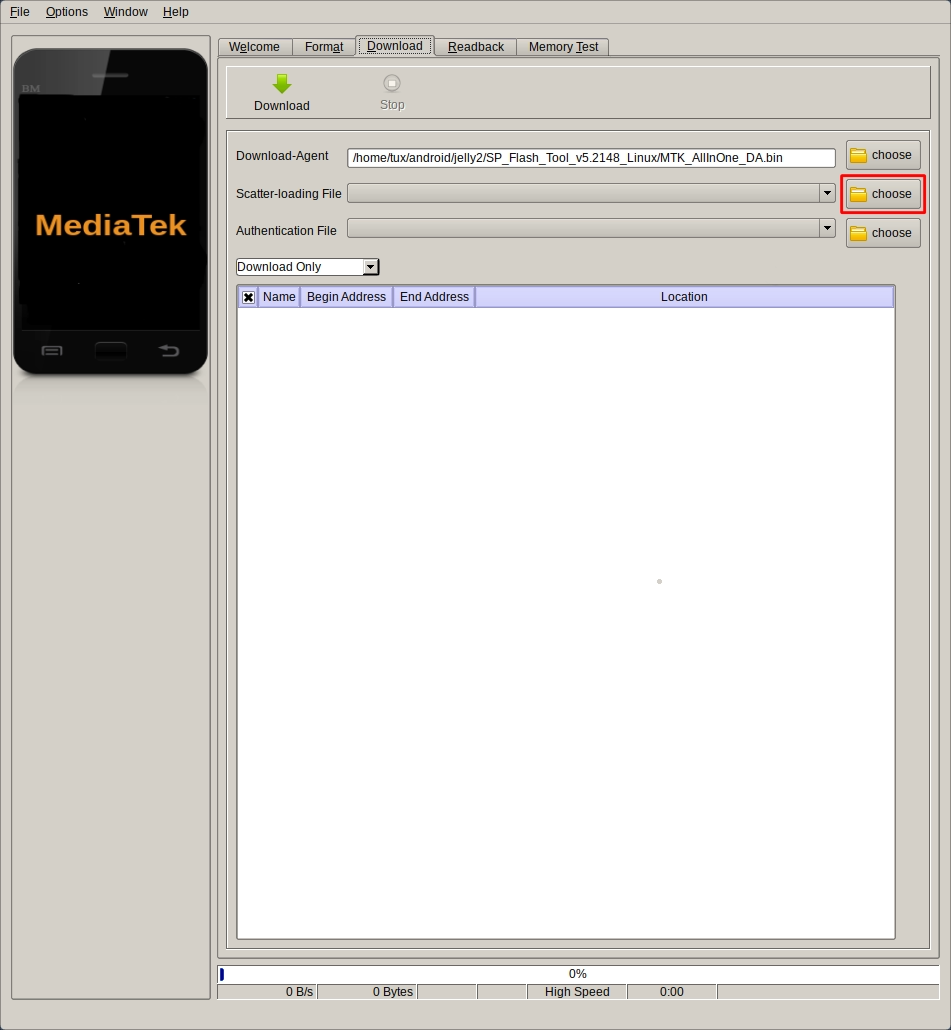
After selecting the firmware, wait for the Jelly 2 to reboot, or reboot it manually and click on “Download”.
You should now see a progress bar at the bottom of the screen.
System modifications (TWRP, Magisk, and GSIs)
Before you start flashing any system image using fastboot, you should first disable verified boot, otherwise you’ll end up in a bootloop, and you’ll need to reflash the device using the stock firmware.
Reboot to bootloader
To modify the system you’ll need to flash system images, you can only flash such images from the bootloader, and to boot to the bootloader you’ll need to:
- Hold Volume up + Power until the device reboots to recovery (“No command” screen)
- Press and release Volume up + Power simultaneously until a recovery menu is revealed
- Navigate using the volume keys and select the “Reboot to bootloader” option using the Power button
At the bottom of the screen you should see:
=> FASTBOOT mode...
Now, find and install the fastboot tools, as we’ll use them in the next step.
Unlock the bootloader
To flash anything, you’ll first need to unlock the bootloader using the following command:
fastboot flashing unlock
This will factory reset your device!
Disable verified boot
To disable verified boot you’ll need the stock firmware, in which you’ll find vbmeta.img, vbmeta_vendor.img, and vbmeta_system.img.
After you get hold of those images, you’ll be able to flash them using:
fastboot flash --disable-verification --disable-verity vbmeta vbmeta.img
fastboot flash --disable-verification --disable-verity vbmeta_vendor vbmeta_vendor.img
fastboot flash --disable-verification --disable-verity vbmeta_system vbmeta_system.img
If you forget to disable verified boot, you will end up bootlooping when flashing any image. In my case, I didn’t disable AVB and flashed TWRP, this lead to a bootloop in which I could not boot to the recovery, which meant I couldn’t boot to the bootloader.
Rooting using Magisk
The best rooting solution as of right now is Magisk.
You would usually install Magisk by flashing a ZIP from TWRP, but on the Jelly 2 the fastest way of dealing with Magisk, if you haven’t flashed TWRP, would be to install the Magisk app and patch the boot image: https://topjohnwu.github.io/Magisk/install.html#patching-images
Then flash the patched image using:
fastboot flash boot /path/to/magisk_patched_[random_strings].img
That’s it.
Passing SafetyNet
Magisk has removed the built-in MagiskHide capability, so nowadays you have to install modules such as:
- MagiskHide
- Universal SafetyNet Fix
- SafetyNet sensitive props
In addition to installing these, I needed to manually enable Zygisk and add the apps to the deny list.
Generic System Images (GSIs)
What’s a GSI? Answer: https://developer.android.com/topic/generic-system-image/
When picking a GSI choose the architecture as arm64 and the partition scheme as A/B.
Tested GSIs
That work:
- ArrowOS
- SparkOS
- LineageOS
That don’t work:
- Pixel Experience (hardware navigation not detected)
- Project Elixir (does not boot for some reason)
Tested Android version: Android 13.0
Flashing GSIs
Fastbootd mode
Before flashing any GSI, boot to fastbootd mode (NOT the bootloader).
You may do so in three ways:
- Select “Enter fastboot” from the recovery menu
- Issue an ADB command from a running system after enabling USB debugging:
adb reboot fastboot - Issue the following command from the bootloader:
fastboot reboot fastboot
Fastboot commands
To flash a GSI all you need to do is issue the following commands:
fastboot delete-logical-partition product # You'll only need to issue this once and never again
fastboot erase system # otherwise fastboot may report a false positive when flashing
fastboot flash system <path to GSI.img> # this will take some time, don't unplug
Disabling software navigation
I am not sure how I personally managed to disable software navigation, but I’ll try and explain everything I did prior to successfully disabling it.
Edit: disabling the navigation can also be done using Subtratum Lite and installing nonavbar.apk.
For more info see: https://xdaforums.com/t/how-to-remove-nav-bar-in-android-11.4190469/
First method (unsuccessful by itself):
Mount the GSI image and add the following line to all the build.prop files:
qemu.hw.mainkeys=1
Unmount the GSI and issue the following command (optional):
e2fsck -p <path to GSI.img>
After that flash the GSI:
fastboot erase system
fastboot flash system <path to GSI.img>
Second method (perhaps requires previous method)
Go to Settings > System > Gestures > System navigation > Select 3-button navigation
Install Magisk and install this Magisk module: https://github.com/Magisk-Modules-Alt-Repo/HideNavBar
During the installation choose things like hide pill, disable back gesture, and so on.
TWRP
In my opinion, TWRP is not needed for anything and you can instead use Flashify, or Smart Flasher, or any other flashing method. Unless you absolutely need to flash some recovery ZIP from the recovery, flashing TWRP is a waste of time.
In any case, TWRP can be downloaded from: https://github.com/Meetoul/twrp_device_Unihertz_Jelly2_TEE/releases
To install TWRP you’ll need to:
- Downgrade to Android 10 by flashing the stock firmware (Android 11 firmware is currently not supported)
- Unlock the bootloader and disable verified boot
- Flash it using
fastboot flash recovery <path to recovery.img>